This post is a long time in the making. We started over a year ago on this remodel and we weren’t able to enjoy the deck at all last summer, but we are more than making up for it this year. We couldn’t be happier with how this DIY deck remodel turned out! All furniture and decor sources are linked at the end of the post.

The next few photos are “before” and progress pictures. I’m so glad I took “before” photos because now it’s hard to remember how the deck looked prior to this project. If you’re doing any home remodeling or even just freshening up the decor in your home, it’s such a good idea to take “before” pictures. Then you can really see how much of a difference you’ve made!

I cannot underscore enough how much I detested this stain color. I know it’s a popular deck stain color, but I don’t like reddish undertones in any stain. I much prefer the warmth of a deeper, richer color. We also didn’t like the way the boards were laid out. Having the boards laid diagonally really made the deck’s footprint look much smaller than it actually is. We decided to lay the new boards horizontally not only to make the deck look larger, but to also be more visually appealing. You can see how weathered the stain is in this picture. We weren’t sure when it was last treated, but it had to be YEARS ago.
Initially, we were thinking of replacing only the boards that were rotted or otherwise unstable and then just stripping and sanding the remaining boards prior to staining, but once we got in there, we saw that the deck was in rough shape and since we wanted to change the layout of the boards anyways, we just removed and replaced them all.
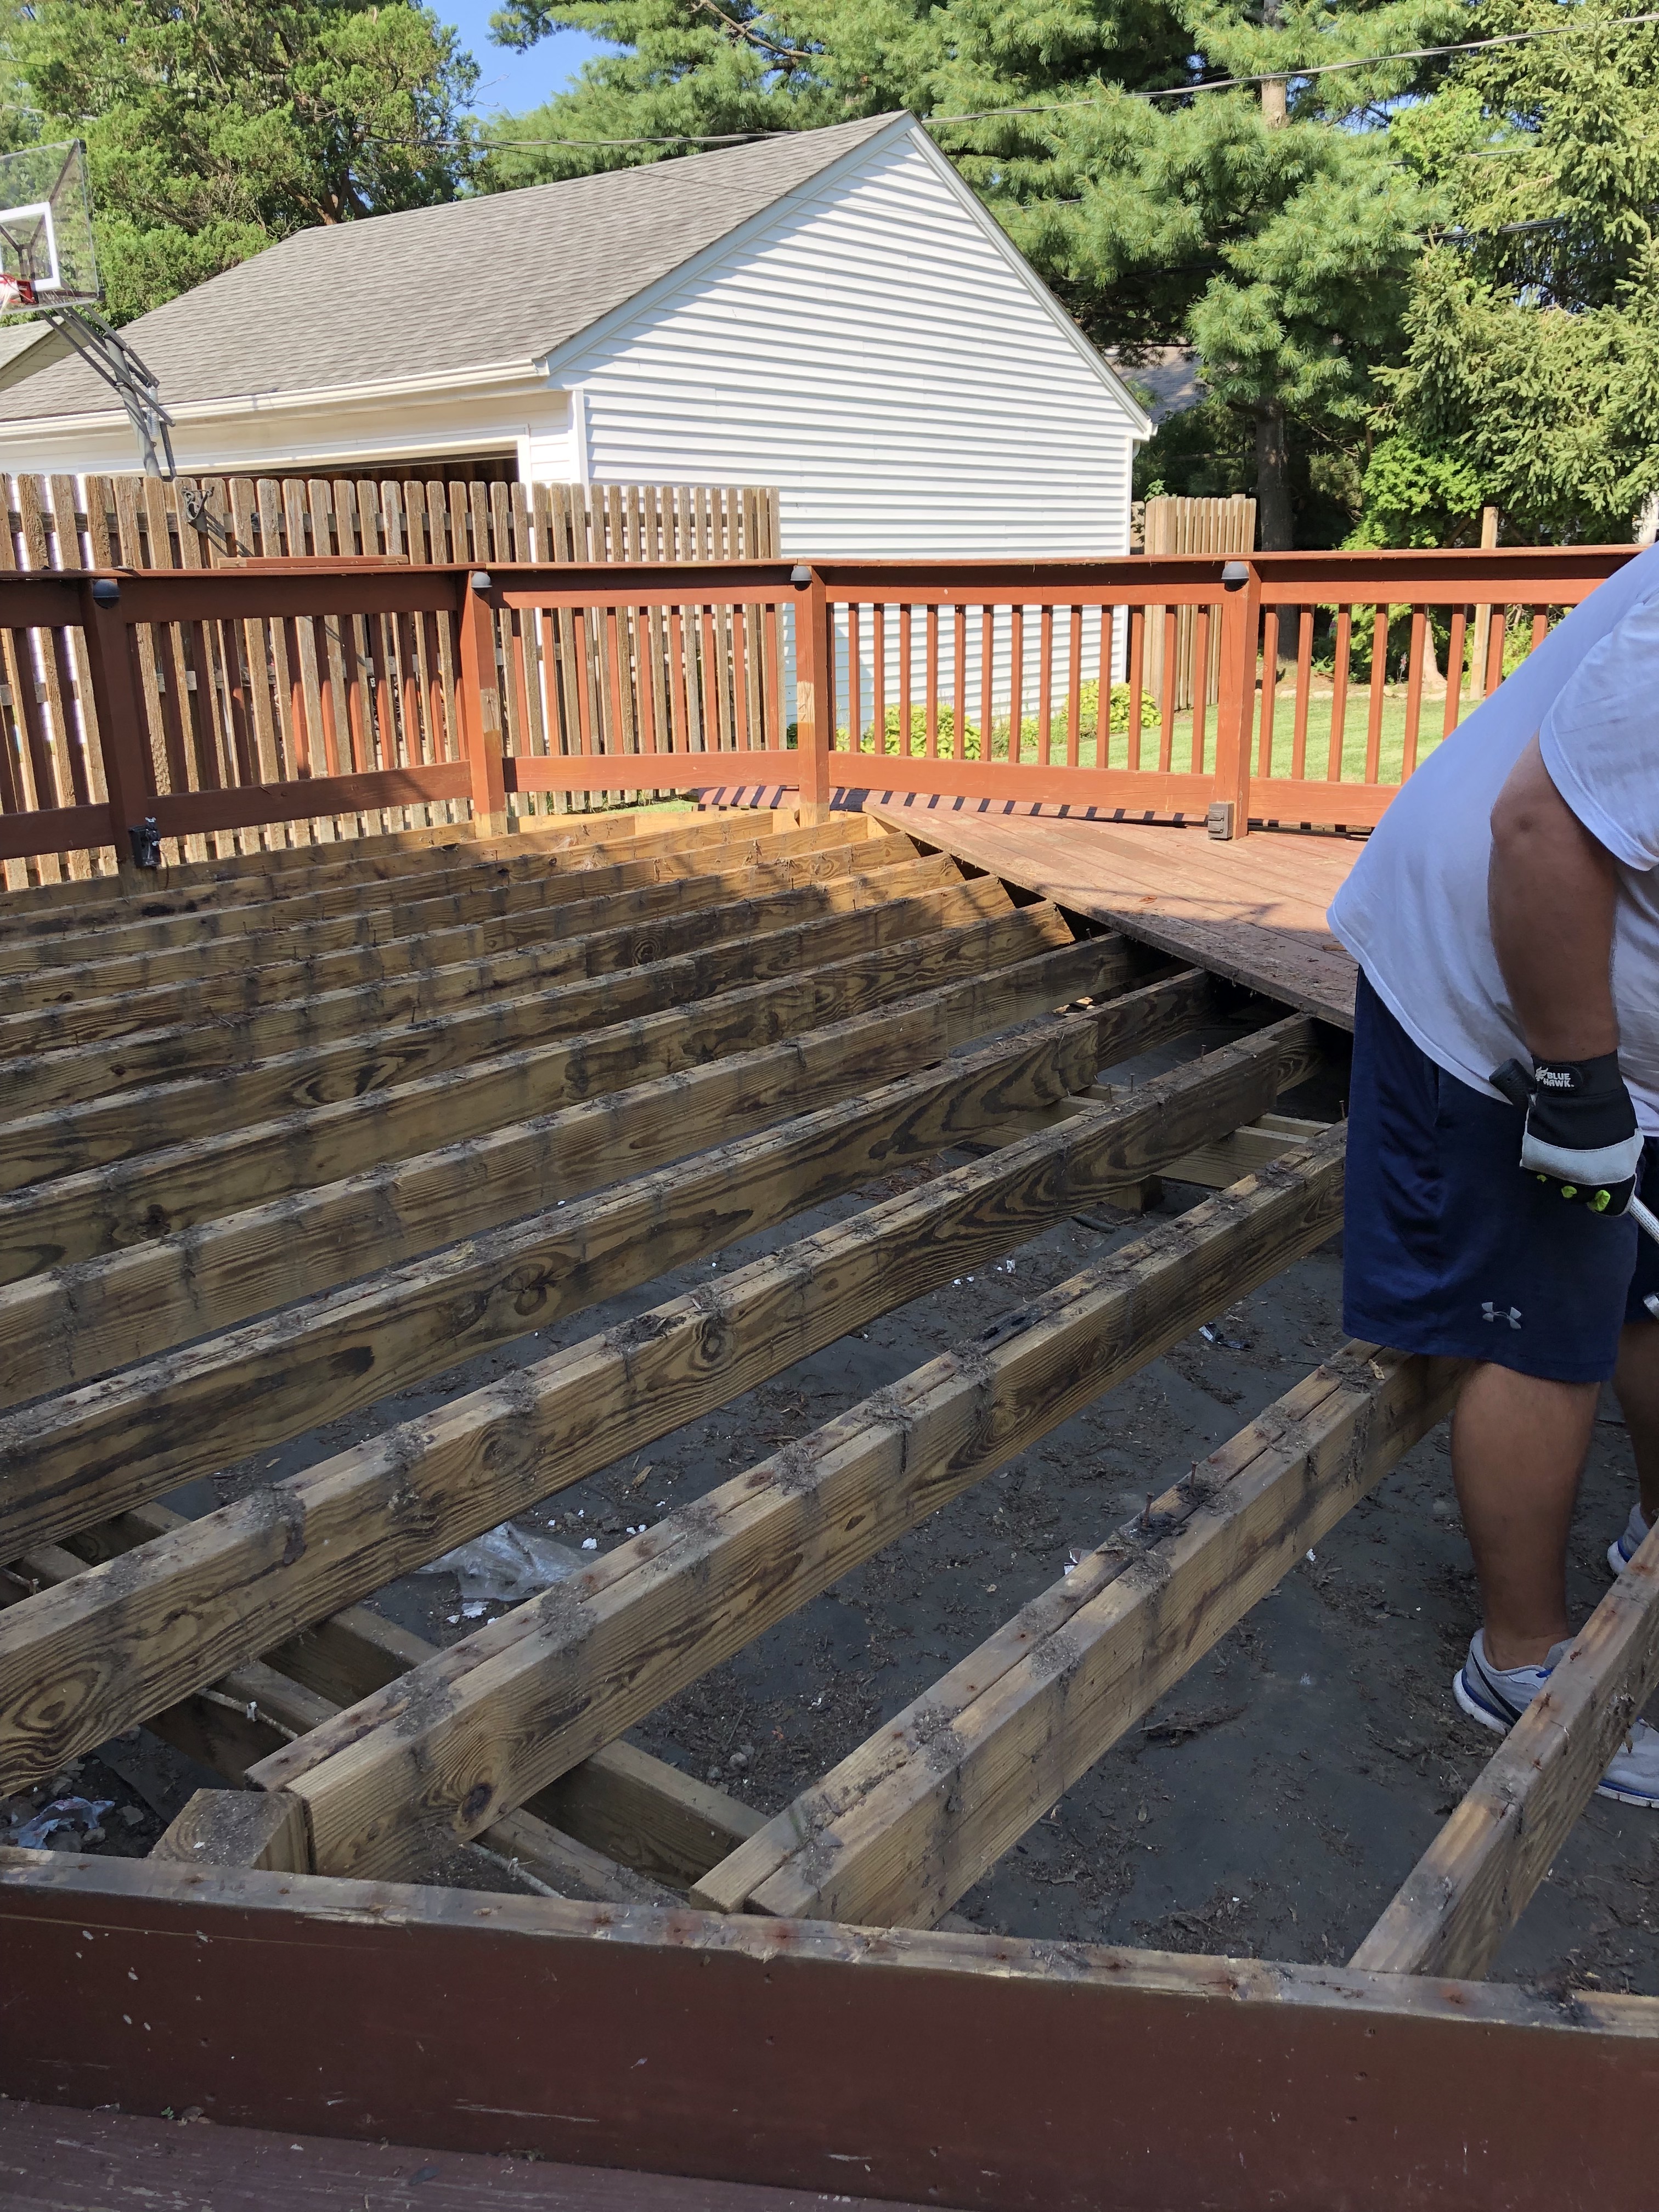
We left the actual shape of the deck as it was and we also left the railings since they weren’t in that bad of shape. We replaced the floor boards with all new pressure-treated 2 in x 6 in pine boards.

One of the smartest decisions we made was to paint the railings instead of staining them to match the deck. Because we were using new boards for the deck floor and keeping the existing railings, we were nervous that there would be a difference in the stain color between the new and existing boards. Full disclosure, this wasn’t my idea. I need to give credit where credit is due, and this was all my husband’s idea. So, we painted the railings white and decided to stain the new boards.

We used a semi-solid stain to stain the boards because we wanted some of the wood grain to show through. We also thought that a semi-solid would wear better than a solid color since some of the wood grain will show anyway. We finally finished the deck in September 2018. It took a lot of planning and a lot of sweat (primarily because we chose to do this project during the hottest months of the year last year!), but it was so, so worth it.

By the time the actual remodel was finished, summer was nearly over, but I took advantage of the Labor Day sales last year to purchase our outdoor dining set. It stayed in the box for about nine months, so I had some trouble remembering what it looked like (ha!) but once we put it together this summer, I remembered how much I loved it. The cushions are not super thick, but they are comfortable. I like how the seat cushions on the chairs without arms have a velcro tie so they don’t slip off the chair. The surface of the table is a black mirrored table top. It adds depth and is more unique than your standard clear, glass tabletop.

I added these navy and white striped outdoor pillows from HomeSense. The cushions and pillows are water resistant, but I like to put everything in a deck box to preserve the life of the items. The deck box is actually on the ground right behind the grill. I linked it at the end of the post and I would 100% recommend this particular deck box. We’ve had a lot of rain and there hasn’t been a drop of moisture in the box.

I also picked up this lantern from Target. I put an LED candle inside that you can put on a timer so it will automatically light up at night. I had no idea that the product name for the lantern was actually “Wood and Woven” until I linked it for this post, but it’s the perfect description. I like the use of classic outdoor materials in a fun and modern design.

This cantilever umbrella was steal from Home Depot. These umbrellas can easily cost almost $1,000 believe it or not, so I was thrilled to find this one at just over $200. You have to fill the base with water or sand to keep it grounded and we’ve had no problems with it tipping over even in high winds. The umbrella itself is easy to operate and provides a lot of coverage. I chose the “sand” color to complement the color of the seat cushions.

I love this outdoor rug so much. I went with the largest size (9 ft x 12 ft) so it would fit nicely under the table and you would still be able to see the pattern. My husband thinks I’m crazy, but I always bust out the tape measure when I’m ordering rugs. You don’t want a rug to overpower any space but you also don’t want your furniture to overpower the rug. In the case of rugs, size definitely matters. We have had tons of rain but also many hot, sunny days here in Northeast Ohio this summer, and this rug has not faded from the sun or become damaged from the rain. The tassels on the ends are a fun addition and we all know how much I love texture so this was a great find.

We also replaced the existing lights on the deck with solar powered lights. The old lights were somehow connected to this little transformer box that kind of hung down from the side of the deck and we could never get them to work. These lights look great and since the lights are solar powered, we never have to worry about turning them off and on.


I love the contrast in these next two photos. The first photo is from the realtor’s website from before we bought our home. The second photo is taken from the same viewpoint and is what that view looks like today (albeit without the wide angle lens)! I get so happy looking at this contrast because I know just how hard my husband worked to remodel our deck and the end result is just such an amazing difference.


I did want to get some planters for the corner of the deck, but I never got around to it and the next thing I knew, it was the middle of July! That’s the great thing about indoor or outdoor home decor and design, you can add to or remove items from a space to create a whole new look. I would love to bring in some flowers and really brighten up with deck with colorful blooms – and I still may – but I wanted to get this post up for inspiration while we’re still in the throes of summer!

As always, thanks for reading!!
Sources: Dining set: Wayfair | Rug: Target | Lantern: Target | Umbrella: Home Depot . Unfortunately the exact umbrella is sold out but here’s a good alternative | Solar lights: Amazon | Deck box: Menard’s | Stain: Sherwin Williams
xx, bk

Wow! What a transformation!! When do get to come over now that it’s done?!! I’m really proud of you and your live-in handyman!!!!!
LikeLiked by 1 person
Thanks! We will set a dinner date for sure!
LikeLike